Sunday, May 31, 2015

DIY Projects Update


Small Pedestal Table

Before (scratches, dings)
After
Budget Breakdown
Table:  $3
Sandpaper: free
Stain & Poly:  $18 (2 cans)
TOTAL: $21

I still need to finish the glass.  I've bought some contact paper and etching cream, but I'm enjoying the re-finished top for now!


Guest Room Dressing Chairs

Before

After
Budget Breakdown:
Chairs: $10 ($5 each)
Finishing Oils: $20 (Lemon Oil and Danish Oil)
Fabric & Batting: free from my stash
Scotch Guard for seats:  free from my stash
TOTAL: $30 ($15 each)

I bought these from my neighbor, and after cleaning with some lemon oil and sealing with danish oil, the wood looked amazing.  I used a red and white seersucker for the seat cushion and sealed it with scotch guard.  I'm saving those embroidered seats for something else.


Child's Bench

Before

After
Budget Breakdown:
Bench: $6
Primer: free from stash
Paint: $5
Foam: $5
Batting: free from stash
Fabric: $5
TOTAL: $21

I picked this one up at the Salvation Army for really cheap.  It wasn't too bad originally, but it didn't fit with my style.  I actually got a little over-zealous on the seat (see the puckering)--I probably should have use a thicker fabric, but we have limited choices where we live and I wanted to get it done!


Craft Room Furniture

Before
Before

After

Budget Breakdown:
Furniture: ??? (we've had it for a while)
Primer: $10
Paint: $27
Supplies: $8
Knobs: $20
TOTAL: $65

I wanted matching furniture for my craft room upstairs and I wanted it dark, because the room is light grey and white.  This is Sherwin William's Darkroom (very deep purple).  I've also installed some glass pulls and stainless handles to the cabinet on the right.  I didn't take an update photo because, well... my craft room gets used. :)

Monday, October 27, 2014

Dinner Meal Plan: Week of 10/27/2014

This week's meal plan! Enojy!

Tuesday:
Zuppa Toscana (Sausage, Kale and Potato Soup)

Wednesday:
Leftovers

Thursday:
Garden Salad

Friday:
Mummy Hot Dogs (Happy Halloween!)


What are you having this week?

Friday, October 24, 2014

Travel: We went to Colorado!

We had a ton of fun last weekend in the mountains!  Handsome and I decided to take a long weekend and breathe in some fresh mountain air.  We (actually I) hoped for some cooler weather, but it was actually about the same temperature as home (you can't win 'em all, I guess). Now, pictures!

We stayed at the 3rd Street Nest Bed and Breakfast (so cute, I highly recommend it!)
http://3rdstnestbb.home.bresnan.net/

Lunch at La Baguette in Old Colorado City
(Seriously, look at that French Onion Soup! So good!)

Pike's Peak

How this went: "Let me take your picture in panorama and you can be in the picture twice."
"Ok."
"Do a funny pose!"
"I am!"
"Come look at this. You didn't do anything funny at all!"
"Yes I did.  Look, I did a thumbs-up!"
*Sigh*

Helen Hunt Falls (Thanks for the recommendation, Diane!)

Helen Hunt Falls

We took a drive on Gold Camp Road in North Cheyenne CaƱon
(Look, a tunnel!)

Dinner by the Arkansas River at River's Edge in Salida

The Royal Gorge

And then the real reason I go to CO, so I can look at Aspens.

Sunday, October 5, 2014

Dinner Meal Plan: Week of 10/5/2014 (With Recipes)

I don't know if this will be helpful for anyone, but I usually spend an hour or so each Sunday or Monday planning 3-4 meals for the week (depending on what leftovers we already have and what each recipe yields) and then buy all of the groceries I need for the week.  I look at the grocery store's weekly ad, but don't always choose to buy from it.  I usually plan to make something with leftovers at the beginning of the week for lunches.  This week is a little different, because we made two pizzas today and can have leftover pizza and fruit for lunches early this week.  I also try to plan quick or slow cooker meals for the days I'm working so that we can eat soon after we get home (dinner is usually at 5:30 at my house!).

I looked through my refrigerator and freezer to help me plan meals this week.  I saw that I have some eggs that need to be used up.  I also stumbled upon some game bird in the freezer (Chukar).  I can usually find a lot of, um... inspiration (?) this way.

Sunday/Monday Prep:
  • I often buy a head of Romaine (or "green lettuce" as my grocery store calls it) and wash and chop it on the day I buy it.  I store it in a gallon storage bag with a paper towel and I try to have as much air in the bag as I can.  It's 99 cents per head of lettuce, which is way cheaper than a bag, and it lasts quite a bit longer.
  • Wash, prep, and portion fruit &/or veggies in small containers to grab for lunches
  • Homemade yogurt cups in small containers:  1 serving greek yogurt, chia seed jam scooped on top (to taste, depends on how sweet it is)

Monday:
Chukar Piccata, Angel Hair Pasta, Green Salad
(note: Chukar is a game bird.  Chicken is typical in this recipe)

Tuesday:
Cobb Salad (lettuce, chopped ham/turkey, hard boiled egg, shredded cheddar, red peppers, avocado, shredded carrots, green onion, olives, bacon, ranch dressing)

Wednesday:
Slow Cooker Pasta Bake (I won't use a recipe, but something like this, probably with broccoli & cauliflower)

Thursday:
Leftovers

Friday:
Irish Beef Stew (Slow Cooker)


What are you having this week?

Saturday, August 16, 2014

How I Style My Naturally Curly Hair: Part 3

How do you style your hair?  What products do you use?  Do you use a diffuser or other tool?

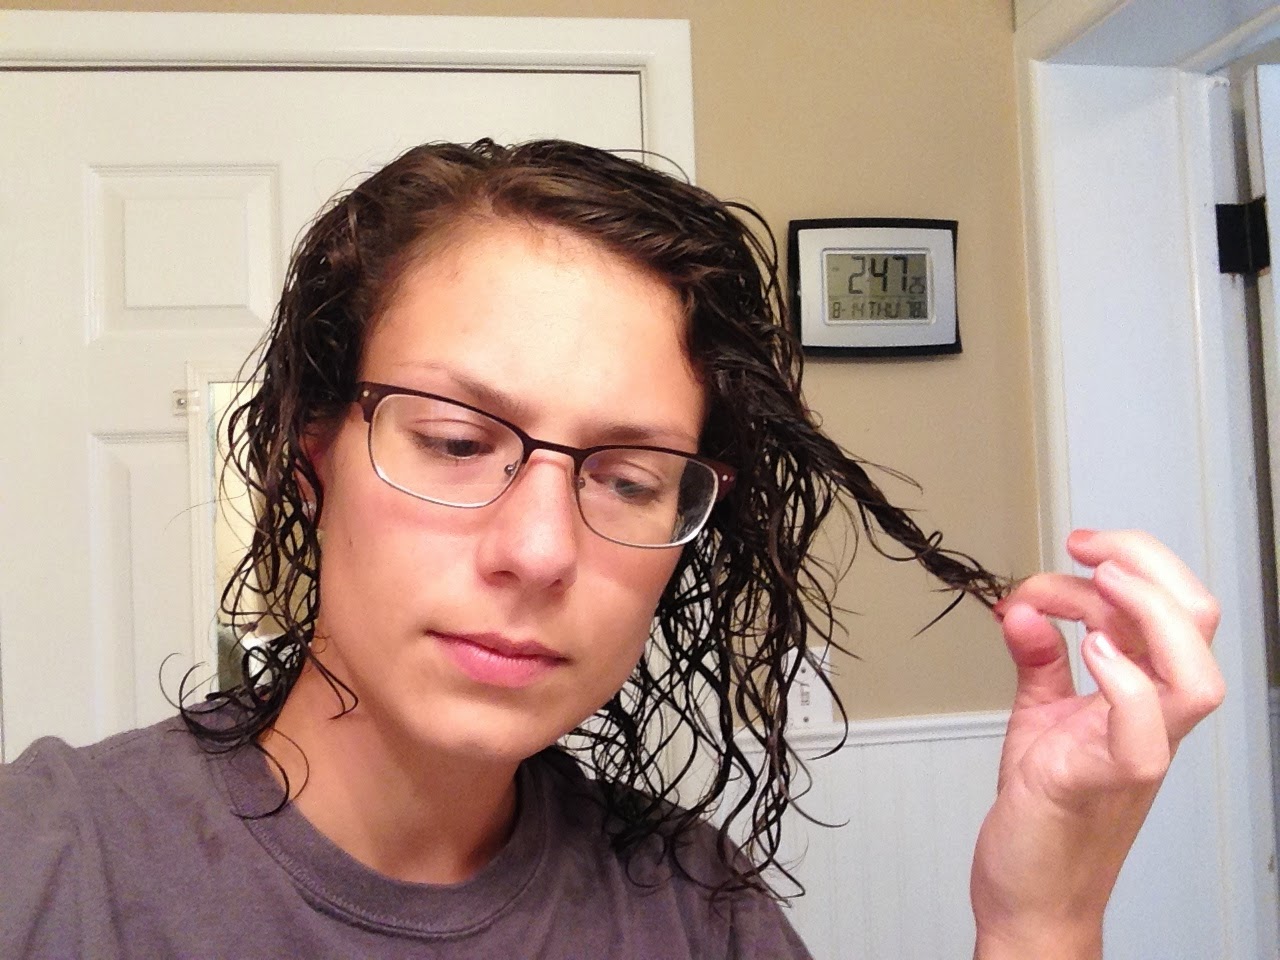
Step 0:  Wash your hair as described in Part 2.  Your hair should now look something like this.

Hey-o! Straight out of the shower selfie


I almost always use three products on my hair.  The first product depends on my hair's length.  For the medium length hair I have now, I love this texturizing cream.  As you know, my hair has a fine texture, and this cream gives it some "grip" and hold without being crunchy.  For short hair, sometimes I don't use anything besides mousse and hairspray, and for long hair, I typically use some sort of gel, because it helps with frizz (I've found that I have to touch my hair a lot more when it is long).

For a diffuser, I use Revlon Ionic Tourmaline Ceramic hairdryer, as I wrote about here.

The Lineup

Step 2:  Flip head over.  Dispense product into one hand.  Distribute product between both hands.  Apply product to hair, starting at ends. (We're only doing mousse and cream for now.)

MOUSSE:  I go ALL over, starting at ends and scrunching into roots.

CREAM:  I go on ends and middle ONLY.

Step 3:  Part hair and shape curls.  Shaping takes a little practice, and you may need to add some water to get it to curl like you want.  I typically just shape the curls around my face and maybe the top layer of my hair.  This helps the hair lay a little better.

Flip hair to opposite side.  Slide finger down scalp, gently separate top portion of hair, and flip it to the other side.

I'm parted, so now what?

Grab small sections of hair and twist to make ringlets (I only do this around my face)

A little tamer
Step 4:  At this point you have two choices:  diffuse or partially air dry.

If you want, of if you are especially busy, you can walk away and do something else for 30 minutes to let your hair partially air dry.  It still needs to be noticeably wet for the next part (around 50%-60%).

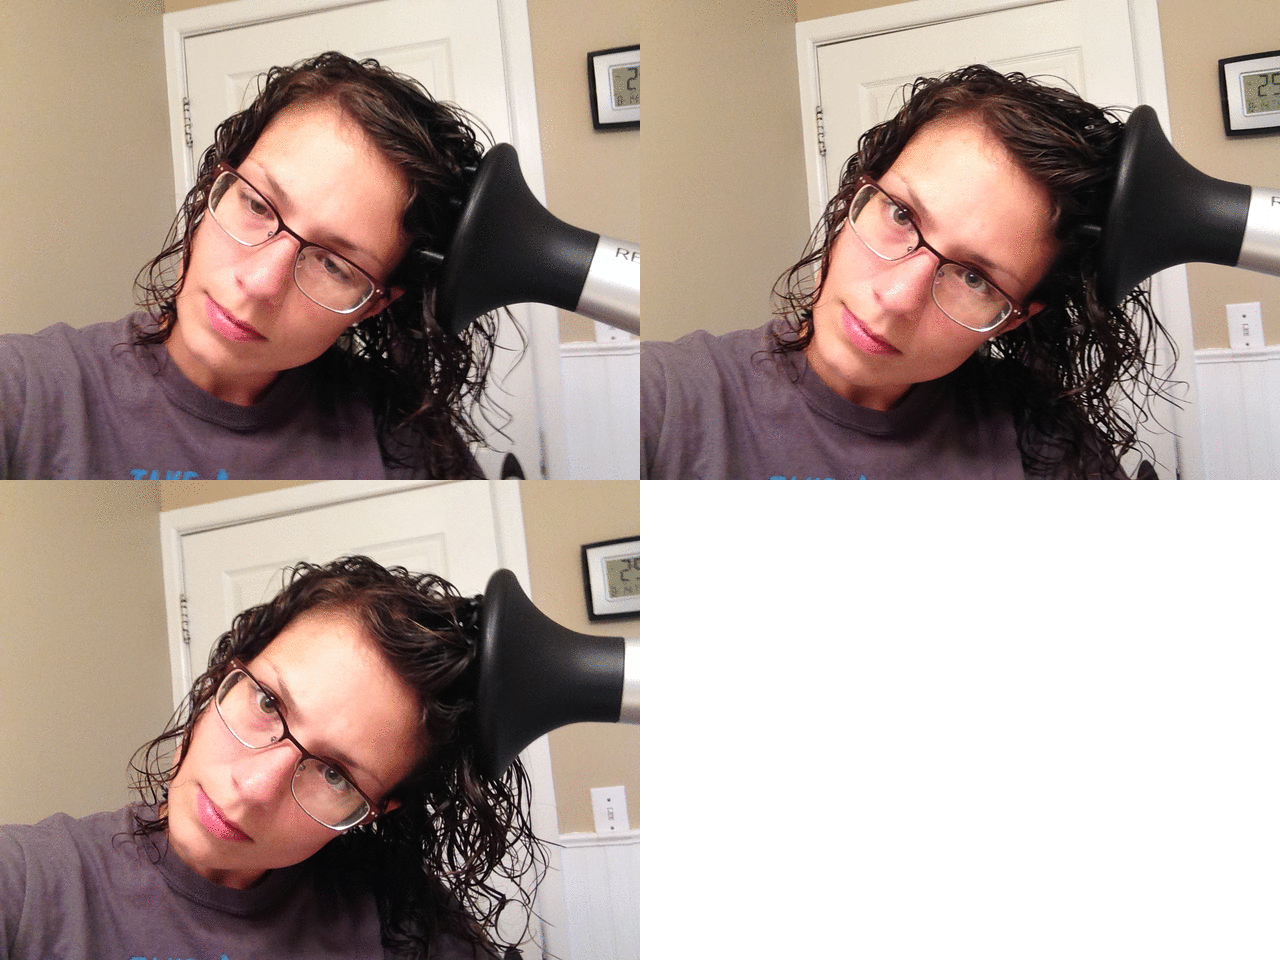
Otherwise, grab your diffuser, and let's get going.  There are a few tricks to using a diffuser, so I've made you a few gifs to help explain how to "hold" the hair with the diffuser and how to position the tool (and your head).  It's important to tilt your head towards the side you are drying so that the ringlet isn't stretched over your head, but is allowed to fall straight.  Hold the diffuser in each spot for 8-10 seconds.  If you move too fast, you'll cause your hair to frizz.  It's more like a curling-iron than a hairdryer at this point.  Dry to about 60%.

To dry the ends:
Start below the hair and come straight up, hold for 8-10 seconds and then grab a new spot.
This can also be done with your head upside down.

Step 5: Grab the hairspray.  Lightly grasp the top layers and spray non-aerosol hairspray on the roots all around your head.  Then, use your diffuser to dry the roots and add volume.  I usually go over each section only once or twice, because I just want to "set" the hairspray and not dry out my scalp.  My hair is usually 90% dry at this point.

Do your best to not break up the curls, and for heaven's sake do NOT push up from the bottom, because you will end up "fluffing" your hair and looking like you stuck your finger in an electrical socket.

 To dry the roots (for volume):
Start on the side of your head and stick the diffuser "fingers" onto your scalp.  Move the diffuser up a few inches to relieve the weight on the roots.

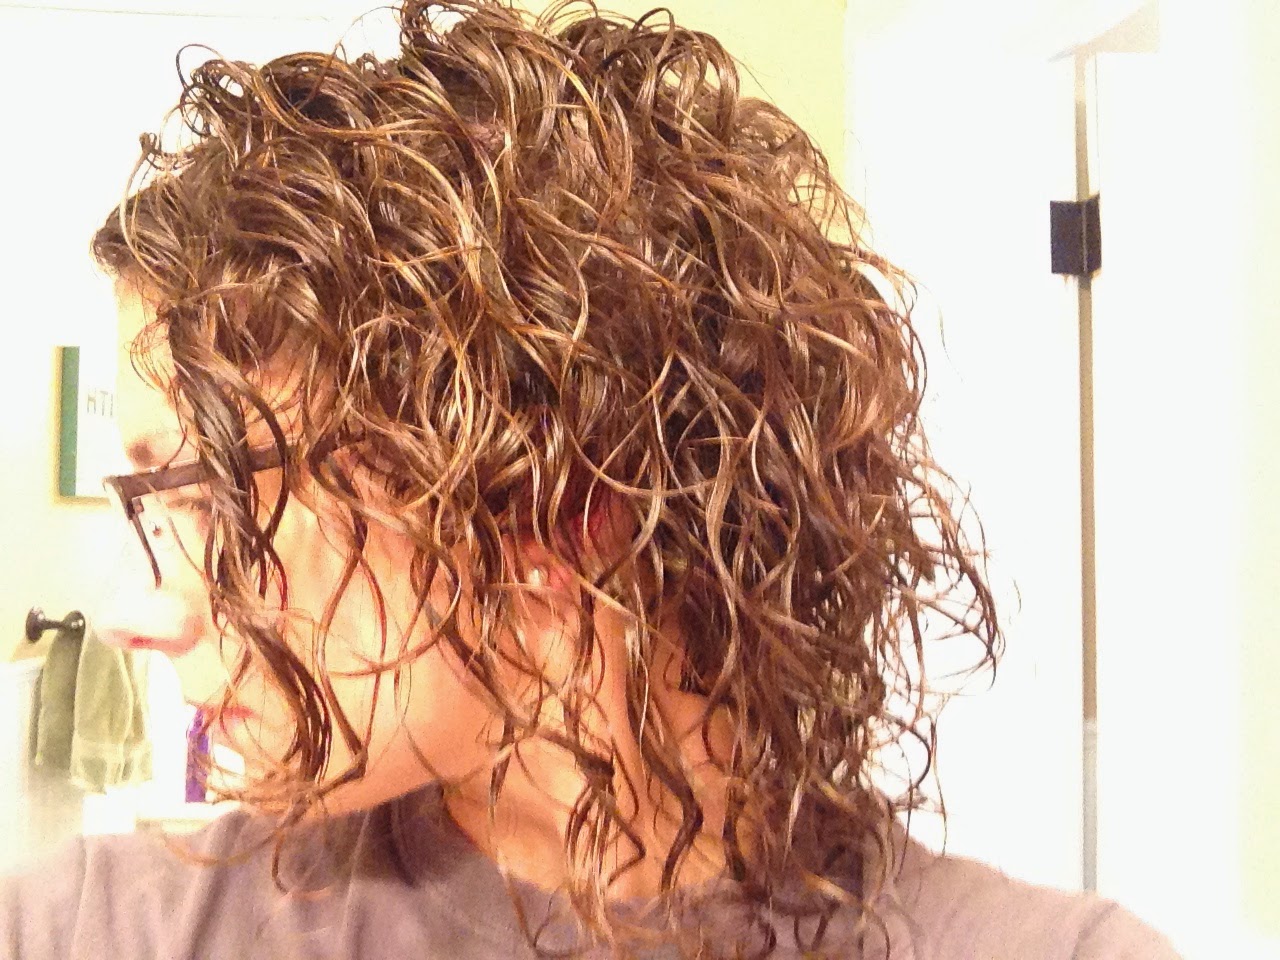
Step 6:  Admire your crazy, amazing hair.  Mine usually settles a bit after this, especially as it finishes drying.  When it's dry, I usually feel through it a bit and see if there's a spot that somehow didn't get any product.  If there is (there usually is), I spray a little more sprunch spray or an unscented aerosol hairspray on that section (otherwise it will puff up).  If you don't catch a section in time and it puffs up (hours later or the next day), just wet it down and reshape the curl and then add a little product (I usually just do a spritz of hairspray).  I also separate some of the curls if I end up with a Shirley-Temple-type ringlet, which happens occasionally.

Front

See that crazy stray in the back?  Just pull it down and tuck it in.
(those curls in the front are on their way to Shirley Temple)

Side

If you look at the clock in the background of these pictures, you'll see this took 17 minutes from start to finish, but I was also taking pictures.  It typically takes me about 10 minutes to do my hair in the morning.

Leave your questions in the comments.  Hope you enjoyed this series!

___________________________________________________________________

This post is part 1 of a series on how I style my curly hair. (I will update the links as the pages are posted)
Part 2:  How I wash my hair
Part 3:  How I style my hair